Pofokes Frozen Pizza Dough Balls
Now you can take advantage of Pofokes Frozen Pizza Dough Balls to make your own Perfect Pies at home! Scroll down the page for easy to follow, step by step instructions on how to go from frozen dough to a perfectly baked, perfect pie!
READ ALL THE WAY THROUGH THE STEPS BELOW FIRST!
If you are cooking in a home oven (gas or electric), heat it up as high as it will bake, which is usually 500 or 550 degrees.
If you've got the luxury of a wood fired or otherwise high heat oven, get it up to 800 degrees or more before you start to bake.
If you would like to learn from a professional via video, I recommend Vito Iacopelli. I have watched him a lot. He is expert and fun to watch.
VITO IACOPELLI'S YOUTUBE CHANNEL
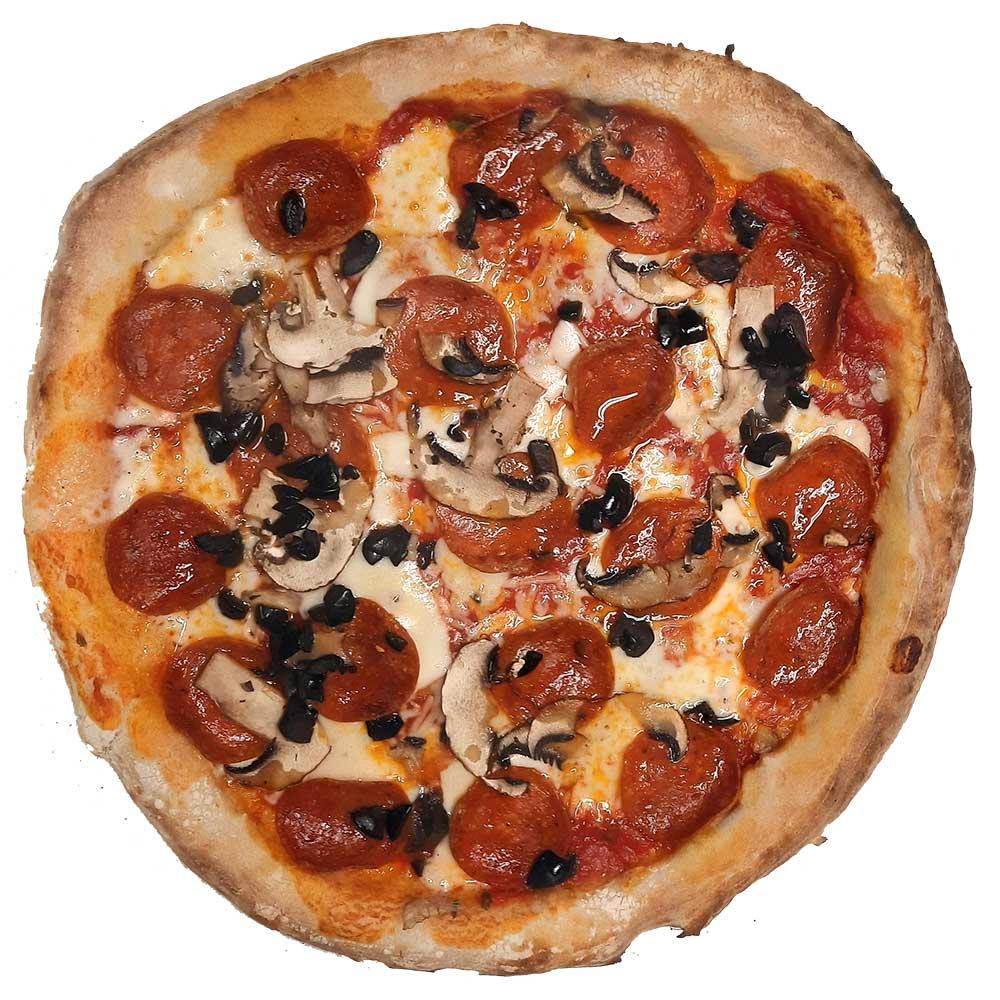
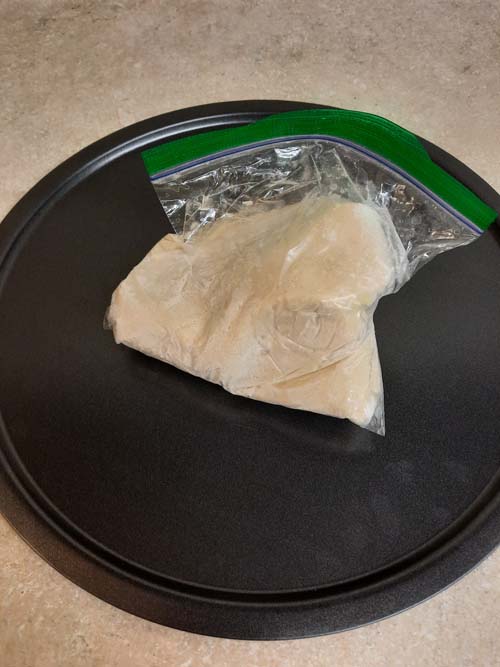
The Pofokes Frozen Pizza Dough Process
Pofokes Frozen Pizza Dough is made from 00 pizza flour and commercial, dry yeast. It has been mixed for 20 minutes, scaled to 12 ounces each, sealed in a zip-up sandwich bag and immediately frozen.
Pofokes Frozen Pizza Dough Use Step 1
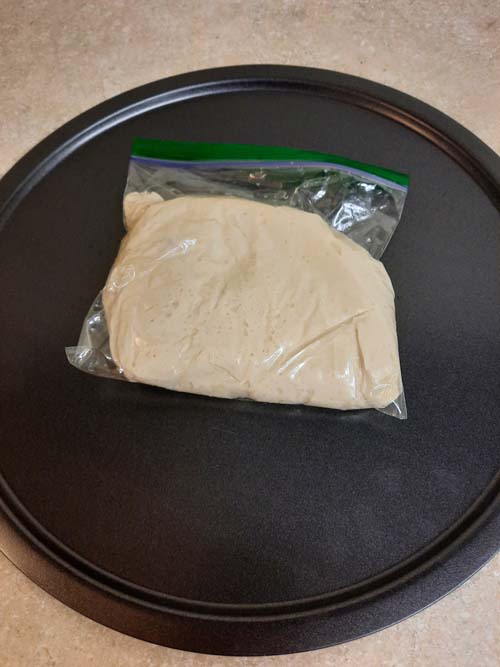
Remove the pizza dough from your freezer. You may allow it to defrost and cold ferment for up to 2 days in your refrigerator for a more deeply developed flavor profile, or you may remove it from the freezer and allow it to thaw at room temperature for 4 to 6 hours.
Lightly press the bag after 4 hours to see if it is completely thawed. If it has a hard spot in it anywhere, that is frozen pizza dough.
Pofokes Frozen Pizza Dough Use Step 2
After 4 to 6 hours (or more if environment is very cool), your dough should be completely soft. Once you have confirmed it has completely thawed, you may remove it from the zip bag.
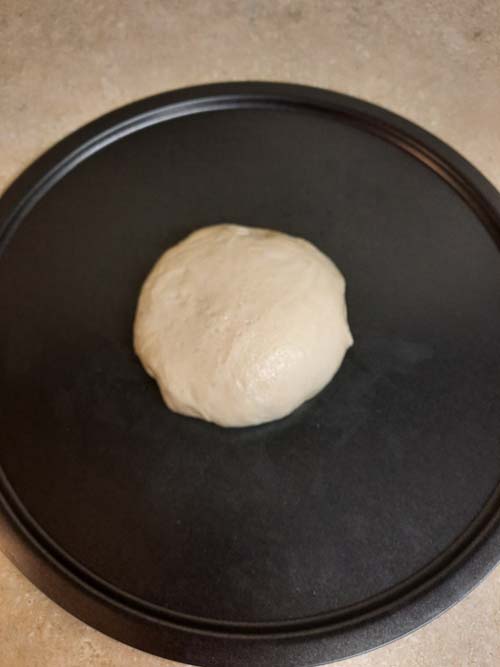
Pofokes Frozen Pizza Dough Use Step 3
GENTLY shape the COMPLETELY THAWED pizza dough into a ball, tucking the edges under slightly.
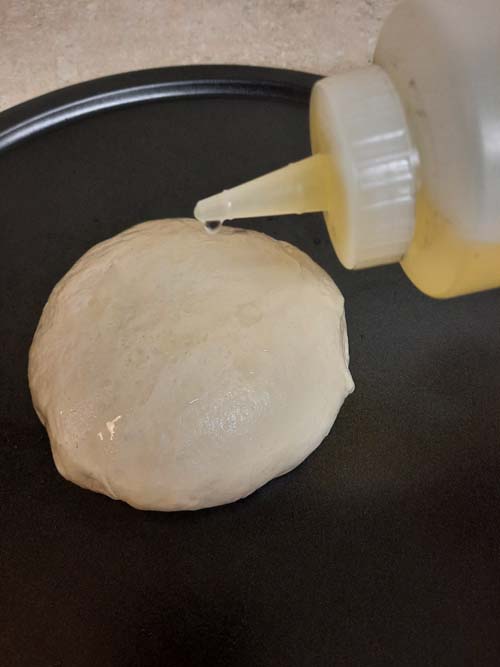
Pofokes Frozen Pizza Dough Use Step 4
Drizzle, spray or brush the top of your Pofokes Pizza dough ball lightly with oil. Olive oil is preferable, but any oil will do.
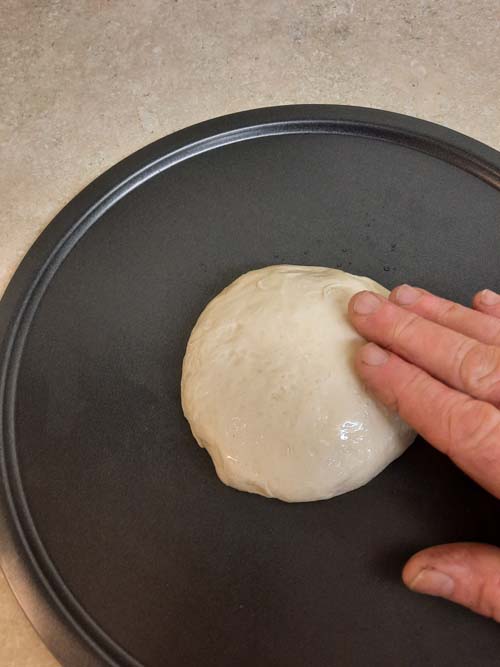
Pofokes Frozen Pizza Dough Use Step 5
If you have "drizzled" oil like I did in my example, gently rub the oil to coat the top of the dough ball with a thin film of oil. No need to coat the bottom of the dough ball.
If you have thoroughly brushed or sprayed the oil on, this will be unnecessary. If you cannot resist "squeezing the Charmin®", then go ahead and spread with your fingers anyway! 
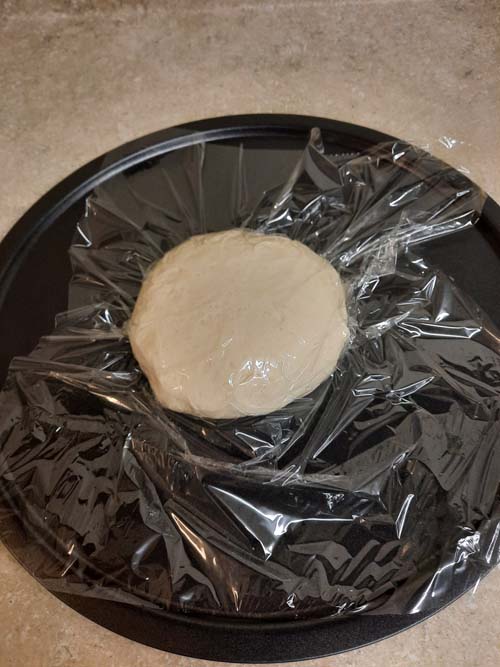
Pofokes Frozen Pizza Dough Use Step 6
After your Pofokes Pizza dough ball is coated with oil, cover it with plastic wrap. This will prevent it from developing a skin and will assist it in rising and resting until you are ready to stretch it out to make your pizza.
Note: if you are thawing several dough balls, place them in a baking pan and then cover the entire baking pan with plastic wrap instead.
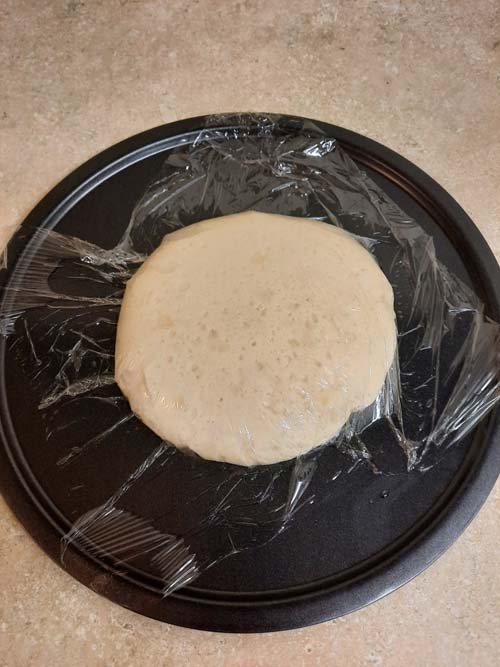
Pofokes Frozen Pizza Dough Use Step 7
After your pizza dough ball has proofed and rested for between 4 (minimum) to 6 or 8 (optimum) hours, it should have doubled in size and be ready to stretch.
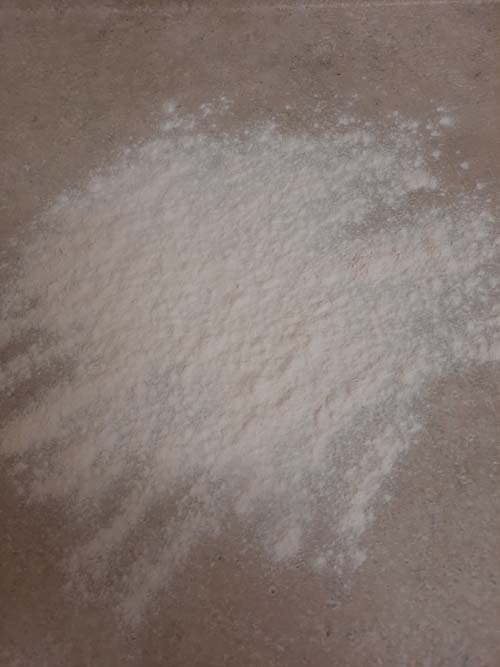
Pofokes Frozen Pizza Dough Use Step 8
Generously flour your working surface. The flour should not stick and absorb into the dough, so don't worry about this - you will be removing the excess flour before baking.
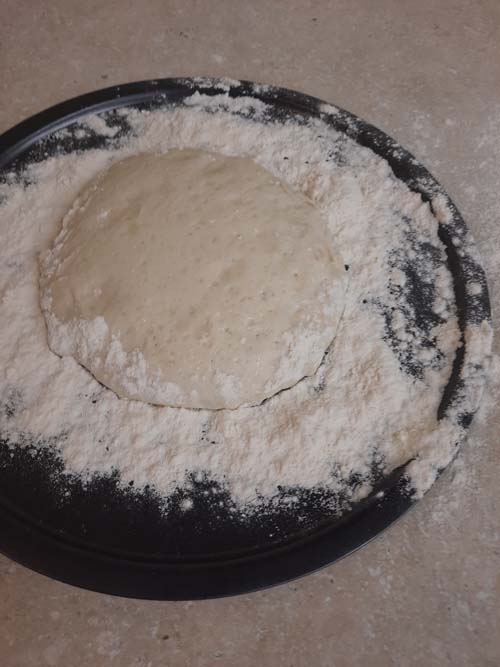
Pofokes Frozen Pizza Dough Use Step 9
Drop flour all around your pizza dough balls. This is important, because you will be sliding your spatula or dough knife or flat scraper quickly under your dough ball (forcing some of the flour to go with it). More on this later, keep scrolling down.
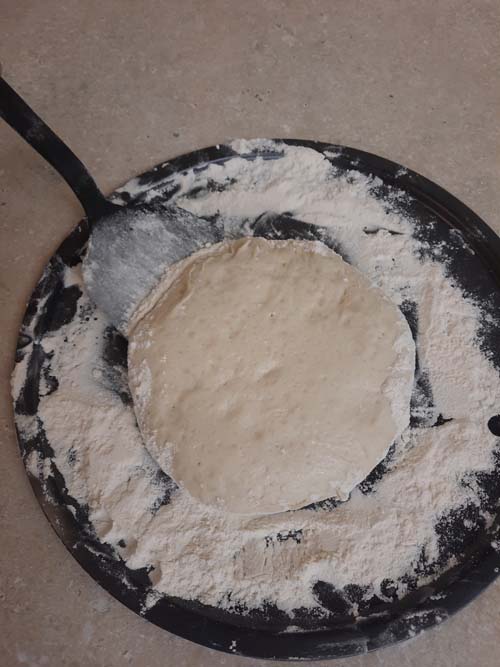
Pofokes Frozen Pizza Dough Use Step 10
Use a spatula (largest you've got) or dough scraper or a construction scraper to slide beneath your dough ball all around it.
I did NOT have you flour or oil the surface BELOW the dough ball on purpose. You don't want the wet dough to absorb additional flour (it would over several hours) and you don't want the flour you are "scooting" beneath the dough ball to get stuck to oil ...
After you have done this from all sides, your dough ball should slide around on the pan freely. Then, you are ready for the next steps.
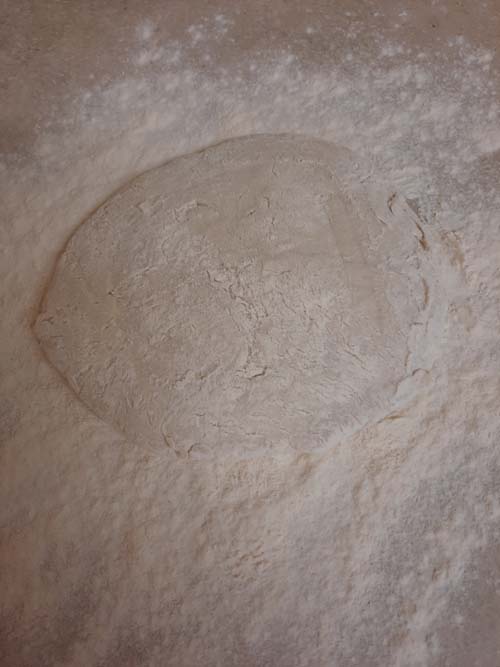
Pofokes Frozen Pizza Dough Use Step 11
Dump your dough ball onto the floured surface - you will be turning it upside down at this point. What was on the top will now become the bottom.
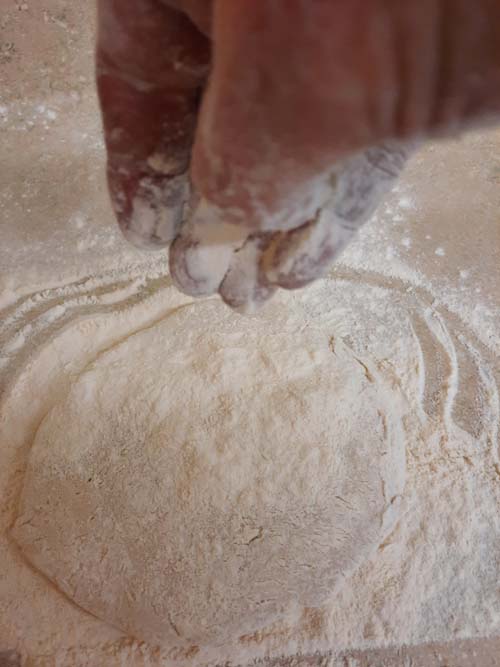
Pofokes Frozen Pizza Dough Use Step 12
Sprinkle some more flour on top of your dough ball. Be generous. You will be working quickly, and your pizza dough will NOT absorb this flour so you don't have to worry about using too much.
If the dough starts to stick to your fingers or hands ... you need more flour.
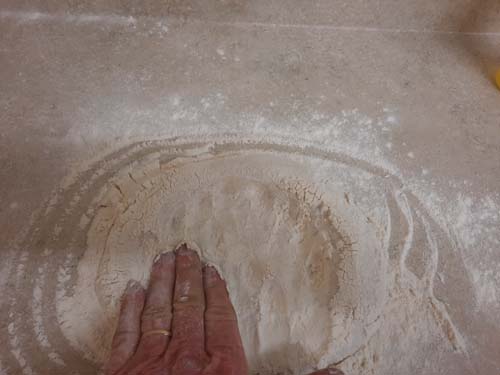
Pofokes Frozen Pizza Dough Use Step 13
Starting from the center, begin to press and squeeze the air and dough from the center of your rested dough ball to the outer edges. I am using one hand in this photo because the other hand is picking my nose, holding the camera, I mean.
Two hands are better than one! Use both hands and press your dough out to about 12" across. Make it round if you want. This is an artisan pizza, so it doesn't have to be perfectly round.
Imperfect here is art, so don't sweat it!
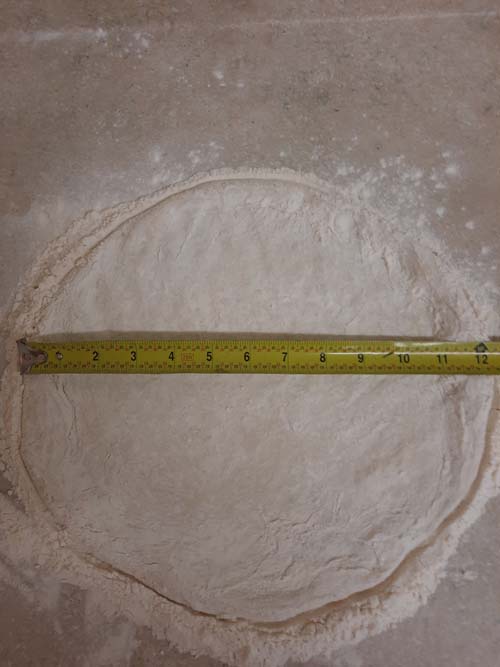
Pofokes Frozen Pizza Dough Use Step 14
If you need help knowing if you've got a 12" pizza pie crust or not ... you may measure it.
For beginners, I strongly urge you to keep your pie to 12".
I can easily and quickly stretch 12 ounces of dough to 14" or 16" or even 18", but ... I've got a bit of experience at it.
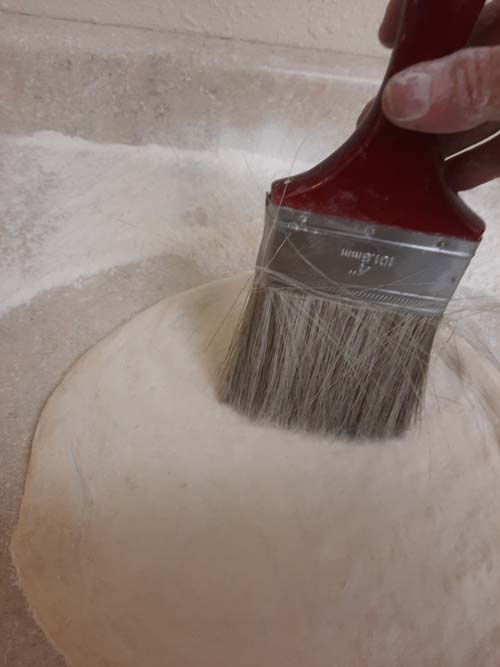
Pofokes Frozen Pizza Dough Use Step 15
Brush the excess flour off of your pizza pie crust now. You are not going to want to add toppings to this!
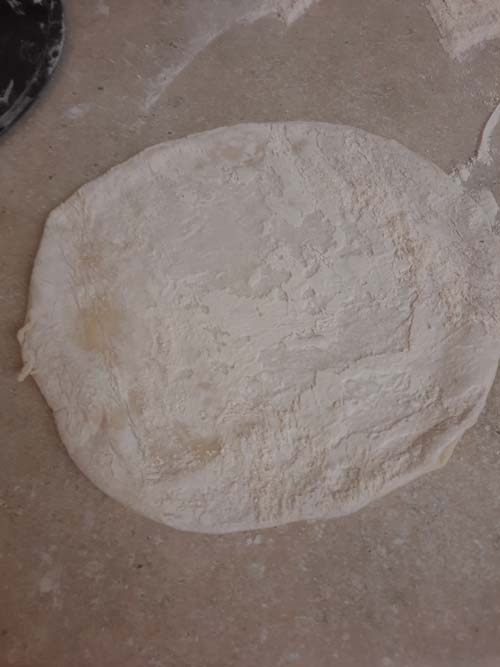
Pofokes Frozen Pizza Dough Use Step 16
Turn the dough over to a surface that is FREE of flour now and you will see that you've got some flour on the top, that was previously the bottom ...
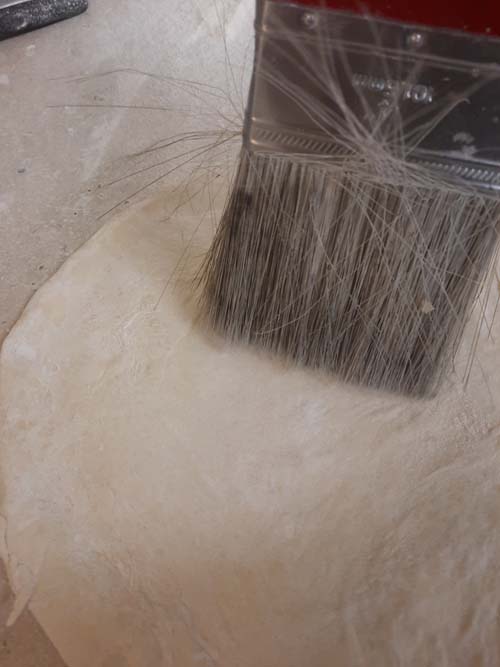
Pofokes Frozen Pizza Dough Use Step 17
Now what should we do with this excess flour? Let's brush it off. If you don't have a brush, you may use your hands but be gentle.
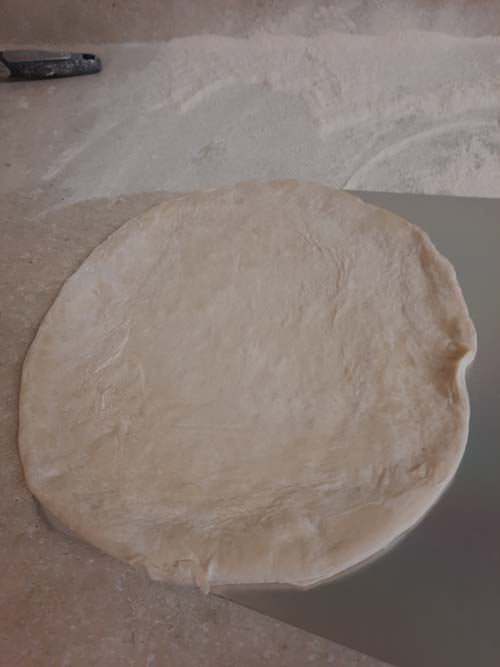
Pofokes Frozen Pizza Dough Use Step 18
Now it is time to TOP your pizza pie.
It is best to clean your working surface of flour and then bring your ingredients over to add your toppings to it and then slide your pizza peel under it and then into your oven.
Here, I am showing an alternative method of sliding a peel under it now.
If you are going to do this, be sure your oven is heated and ready to bake your pie and top it quickly.
Make sure your peel is COOL!
If your peel is WET or WARM your pizza pie shell could stick to it. This is NOT good, because you will experience a great NOVICE failure when trying to slide your pizza onto your baking pan or stone. You may discover SOME of your ingredients make it, but NOT your pizza pie shell!
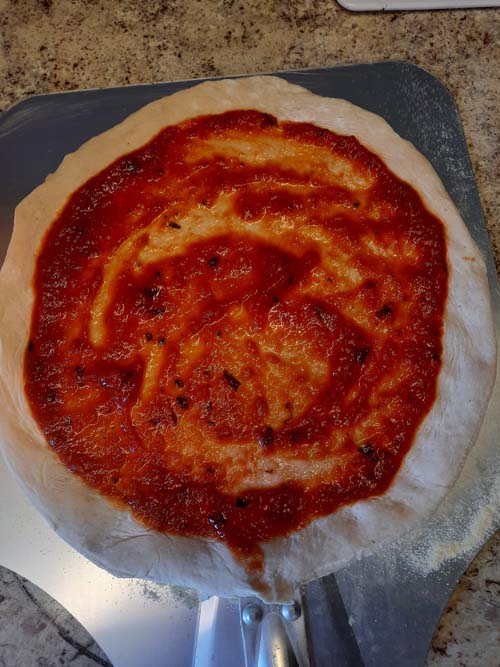
Pofokes Frozen Pizza Dough Use Step 19
Lay down your sauce first and leave a border of about 1" around it uncovered. This is what enables that nice, Neapolitan "airy and puffy crust" on the edge.
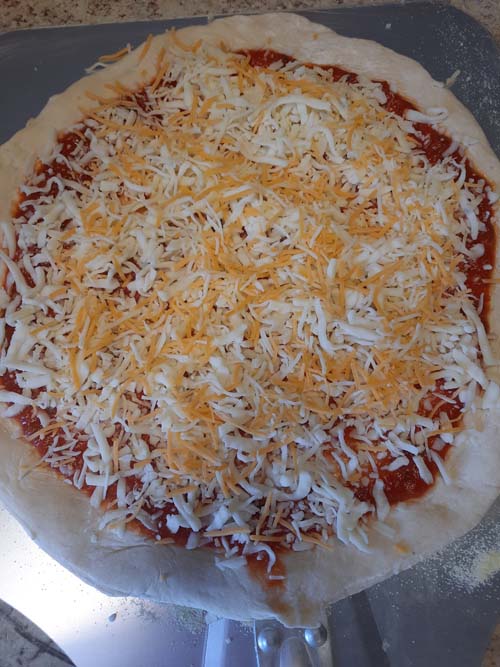
Pofokes Frozen Pizza Dough Use Step 20
Cheese goes next. You want the nice, melty cheese, but you want to protect it from burning. This may not be as much of an issue or challenge in your conventional, home oven, but if you are using a wood-fired or otherwise high-heat oven (800 degrees or more), the cheese goes down after the sauce.
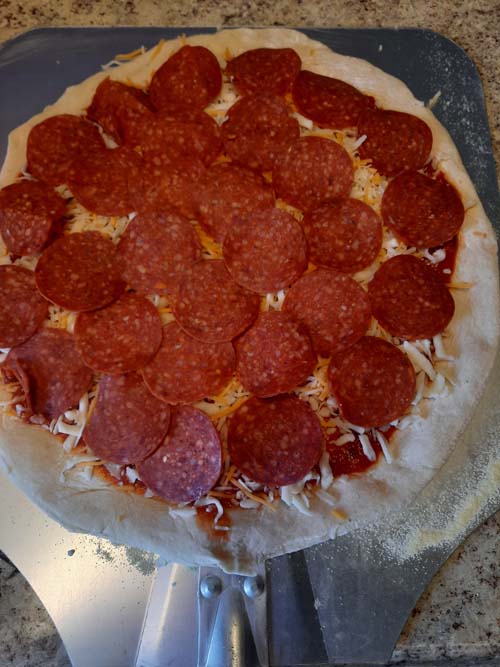
Pofokes Frozen Pizza Dough Use Step 21
Next goes your meat(s).
It is best to keep your toppings LIGHT until you get a bit of practice.
The more WEIGHT you put on your pie, the more LIKELY it is to STICK and the more difficult it will be to COOK it thoroughly.
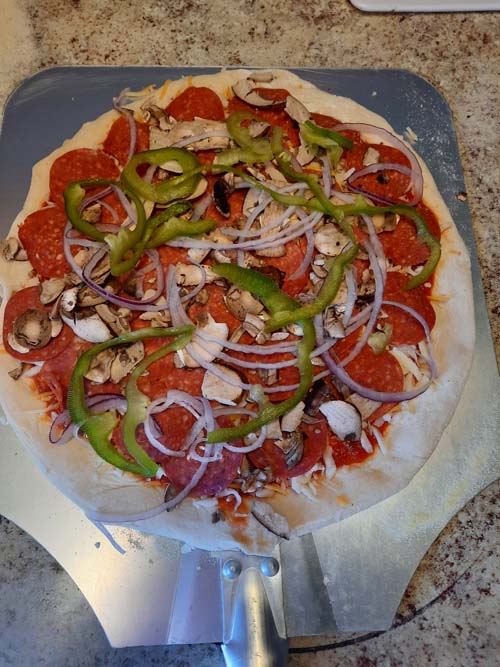
Pofokes Frozen Pizza Dough Use Step 22
Now add the balance of your toppings. It is best to slice all of your vegetable toppings as thinly as you can. This will yield the best result.
If you are adding heavier veggies or fruits (artichoke hearts, pineapple, tomato) add them LAST.
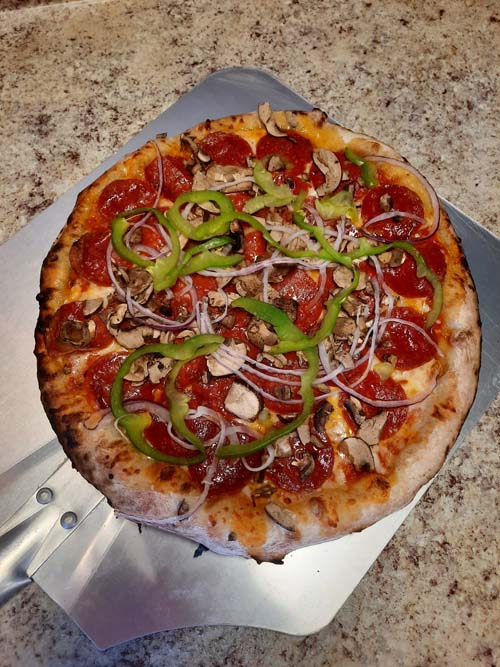
Pofokes Frozen Pizza Dough Use Step 24
I did not have a home oven to show you while I was creating this instruction, so I did not show sliding the pizza onto an oven pan or pizza stone.
This is what you will probably be doing.
Once it is topped, get it in the oven right away.
IF you allow it to sit, it will most likely STICK to the peel and you've got a disaster in the making.


 Follow

